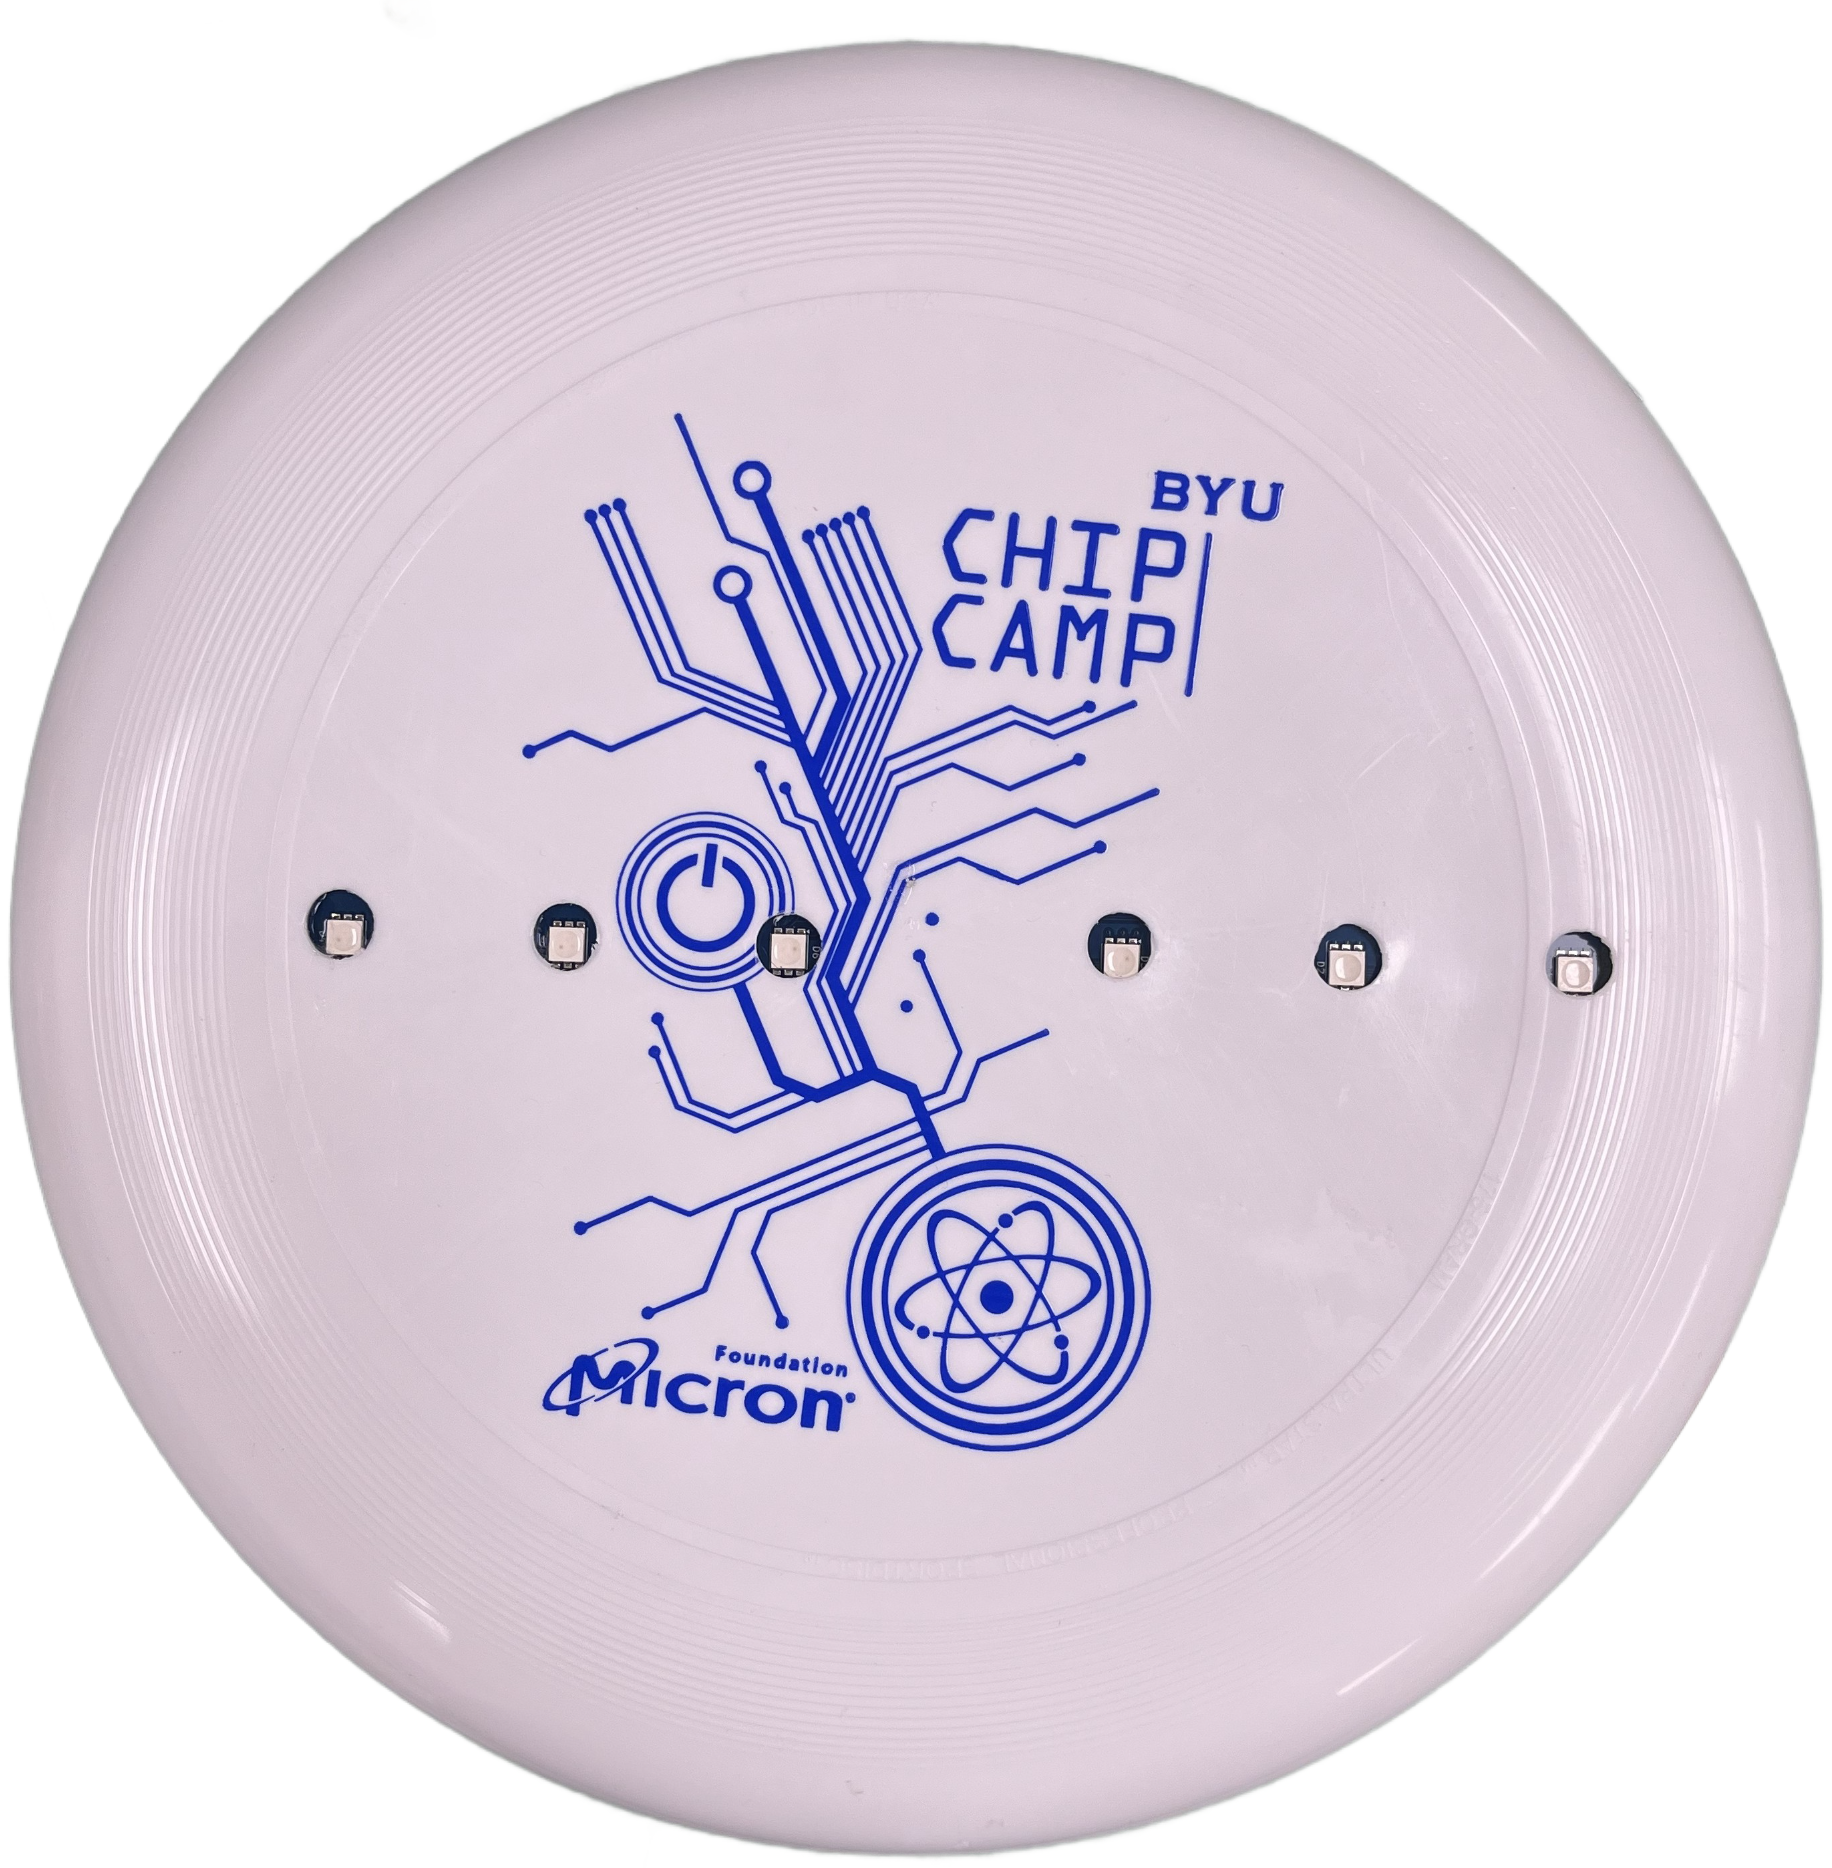
Chip Camp Frisbee
A special Chip Camp frisbee for you to take home.
A special Chip Camp frisbee for you to take home.
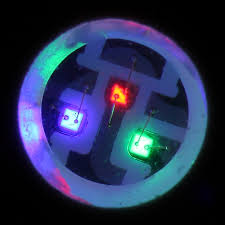
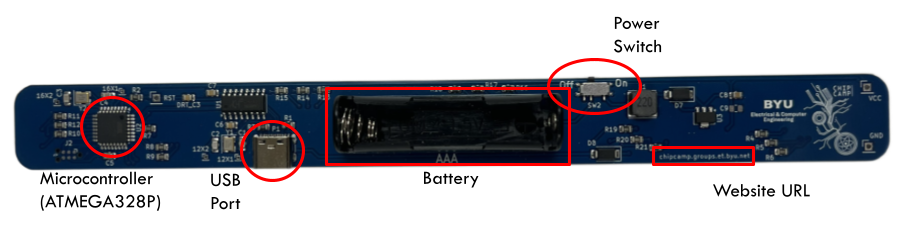
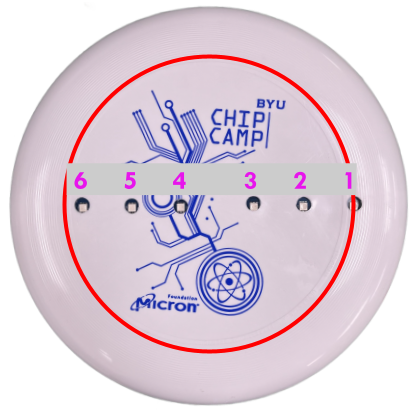
Your frisbee has 6 RGB LEDs. Each Light Emitting Diode can glow Red, Green, and Blue (RGB). By combining these 3 colors in different ways, you can create any color.

A flat board with a bunch of really tiny wires called 'traces' printed onto it. This allows the microcontroller to connect to everything else so your frisbee works.
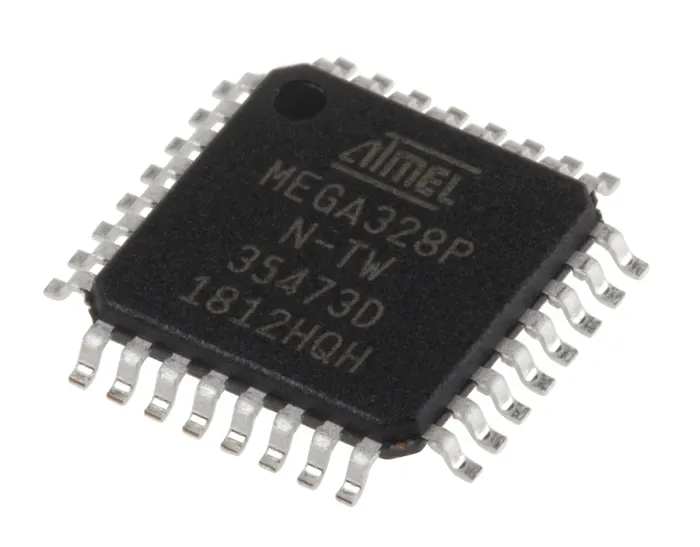
This is basically a small computer on a single chip. This chip will control the LEDs.
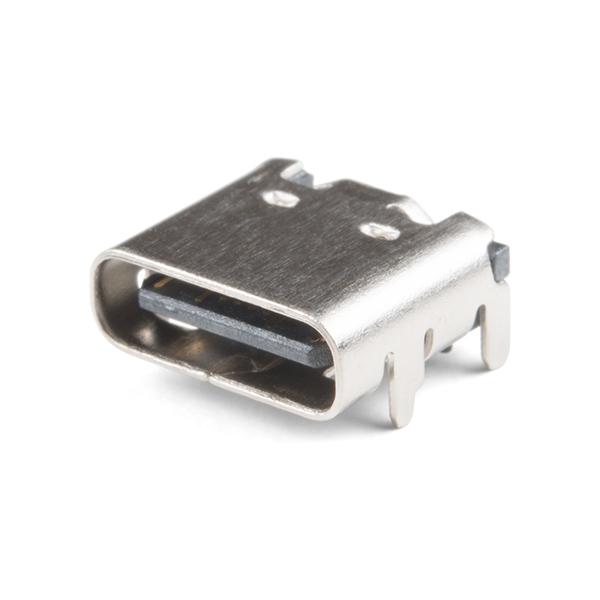
This connector is on the frisbee board. You will use an USB cable to connect this board to your computer and use it to program your microcontroller.
| Command | Explanation |
|---|---|
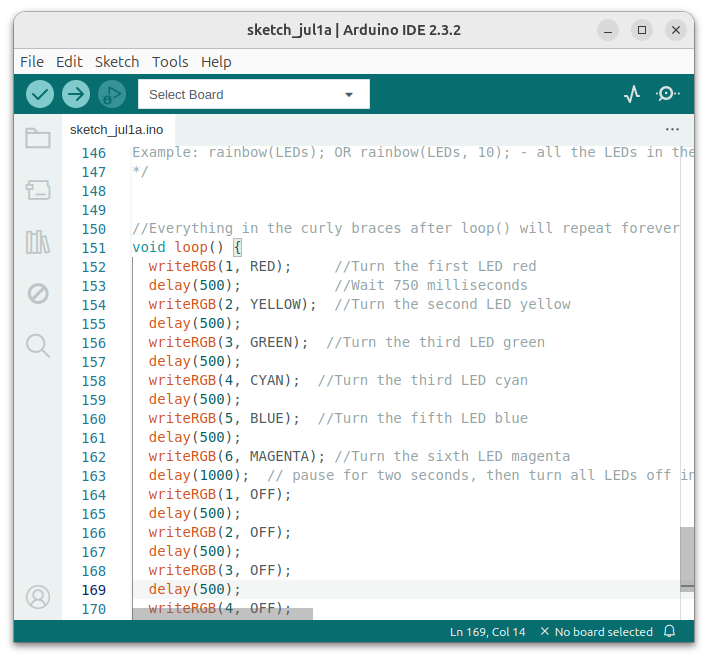
| writeRGB(<LEDnum>, <COLOR>); | Turns LED to a color. Options are RED, YELLOW, GREEN, CYAN, BLUE, MAGENTA, WHITE, OFF. They must be in all caps. |
| delay(<milliseconds>); | The program stops for the specified number of milliseconds. 1000 milliseconds = 1 second. |
| clear(); | Turns all LEDs off. |
| rainbow(<LEDnum>); | The LED will go through every color in rainbow order and turn off. |
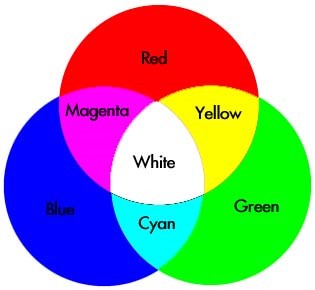
| Color | LEDs on | ||
|---|---|---|---|
| Red | Red | ||
| Yellow | Red | Green | |
| Green | Green | ||
| Cyan | Green | Blue | |
| Blue | Blue | ||
| Magenta | Red | Blue | |
| White | Red | Green | Blue |
| Command | Explanation |
|---|---|
| LEDs[<LEDnum minus one>] = <true/false> | True adds an LED to this list, LED removes it. This is useful if you want to turn multiple LEDs on/off as a unit, instead of doing each individually. The array (the kind of variable LEDs is) starts at zero instead of one, so you need to use the number one below the LED you want. |
| arrayFill(); | Adds all LEDs to the array. |
| arrayClear(); | Removes all LEDs from the array. |
| writeRGB(LEDs, <COLOR>); | Colors all the LEDs in the list. If you previously added LED 3 and 6, they would both turn the specified color. |
| rainbow(<LEDnum>, <time per color>); | Allows you to change how fast rainbow happens. Default is 500, in milliseconds. This also works with LEDs instead of <LEDnum>. |
| random(<min>, <max+1>); | Returns a random number between min and max, inclusive. Can be used in place of a number (omitting the semicolon - those only go at the end of lines) or to assigned to a variable. |
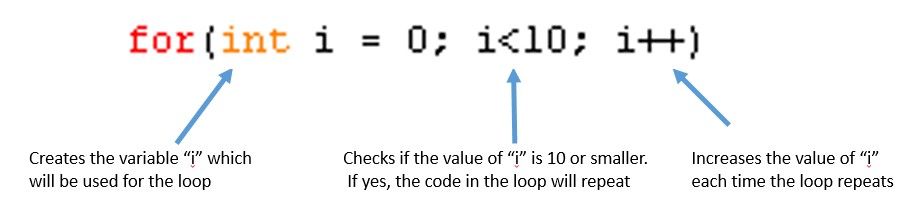
                for(int i=0; i < 10; i++){
                  digitalWrite(LED1,HIGH);
                  digitalWrite(LED2,HIGH);
                  digitalWrite(LED3,HIGH);
                  delay(50);
                  digitalWrite(LED1,LOW);
                  digitalWrite(LED2,LOW);
                  digitalWrite(LED3,LOW);
                  delay(50);
                }
Additional programming help can be found at Getting Started with Arduino, such as tutorials on variables and functions. If you want to pick apart everything in this program, like structs, arrays, and definitions, check out W3 Schools' C++ Tutorial.
The LED frisbee design has been carefully tested to ensure durability. However, they are not indestructible. The Frisbee should be fine for normal use, and should even be able to survive small amounts of water, but it is recommended that it be used with care, and not used in the rain or near large amounts of water.
The battery is attached with zip ties to ensure that it won’t fall out during a hard impact. Get your parents to help you clip the zip ties. If you want, you can pull out the zip ties and insert new ones, or a piece of sturdy tape, such as duct tape, will hold the new battery in place.
The boards have been attached with industrial strength adhesive that should withstand normal use. In the unlikely event that the LED board becomes detached from the Frisbee, using strong tape, such as duct tape, should reattach the board well enough for normal use.
Some of the LEDs on your Frisbee might not work for every color, or may stop working eventually. If this is the case with your Frisbee, it is your job as an engineer to program a pattern that still looks cool without using that color.
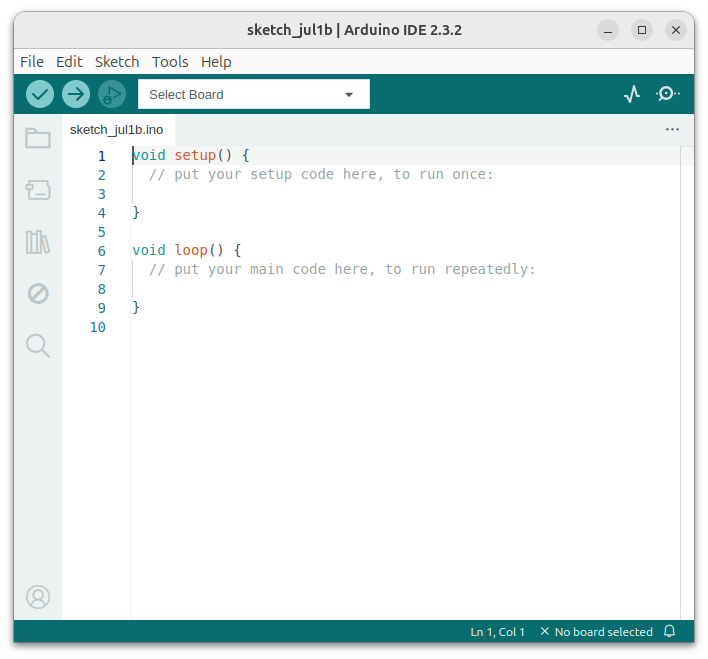
First, make sure that you have downloaded the correct version Arduino IDE. It should be version 2, with a rounded square icon. Next, check to make sure that you are connecting to the correct port in the IDE, and set your board to the Arduino UNO. When you plug the frisbee in, you should see it appear as an option in the dropdown at the top of the IDE. If not, your frisbee can no longer be uploaded to.
| int | Short for integer (a number). It is used in a program to assign a variable, which can be used to give a number value (in this case a pin number) a name that is easy to remember. If this is done at the beginning of the program, any time that name is used, the program will interpret it as the number. |
| Variable | A name or symbol that is assigned to a value, such as using int x = 15; to assign the value of 15 to the name x, which can now be used in place of the number. |
| LED | Short for Light Emitting Diode. A small, bright light that requires little power to turn on. |
| RGB | Short for Red, Green, Blue. These three colors can be used to create any color on the wheel, with enough tuning, and are the same colors used in each pixel on a screen. |
| Pin | The chip for the microcontroller has several pins. Writing programs in Arduino allows you to control whether or not electricity flows through one of the pins. In the case of the frisbee, this allows you to decide which LEDs are turned on. |
| Loop | A part of a program that repeats continually. |
| “for” loop | A loop that continues until the conditions set for the loop are completed. |
| Pulse width modulation | The process of turning on and off an LED quickly such that it appears to be dimmer or brighter. |
| Programming Language | Computers only really only understand 1’s and 0’s. However, to make things easier for people, programming languages have been created, which the computer then compiles down to 1’s and 0’s. This way, both people and the computer can understand what is happening. A programming language generally consists of specific, simple commands, which can be combined to do many things. The programming language for Arduino is very similar to C++. |
| Arduino IDE | An Integrated Development Environment, or program that allows you to code, for simple microcontrollers like Arduinos. While your frisbee is not an official Arduino, it uses the same computer, so this can program it. |
| Algorithm | Computers are very useful and fast, but they aren’t very smart. They can only accept specific, simple commands. A list of simple commands that can be used to accomplish a task is called an algorithm. |
| Engineer | A cool person that gets paid a lot of money to do awesome stuff. |